On a laptop or computer and not a phone? Check out the guide for navigating The Meticulous Puffin from your computer.
You can bring your digital photo to life using just your mobile device! Whether you use an Android or iPhone device, with The Meticulous Puffin, it’ll only take a couple minutes to do so.
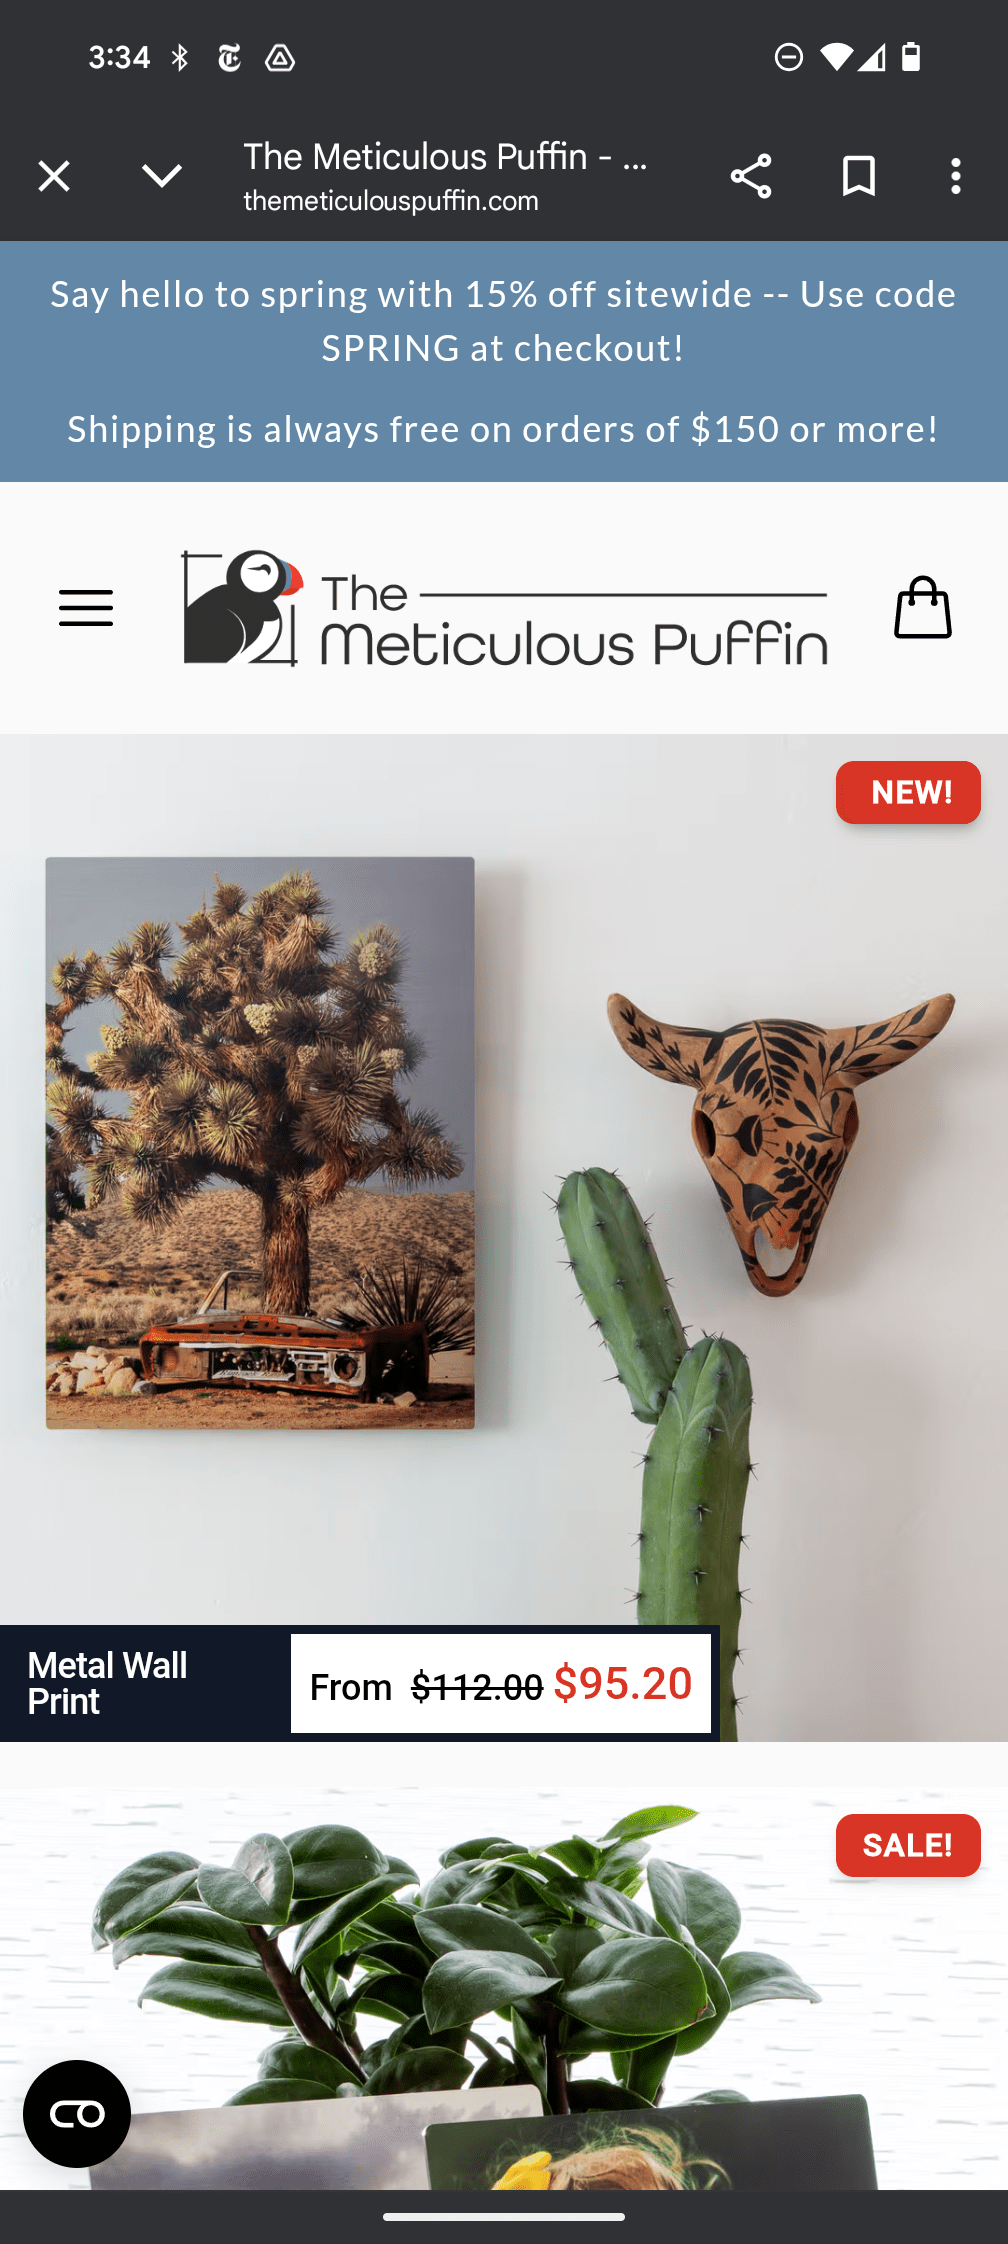
Step 1: Choose Your Product
Go to themeticulouspuffin.com’s homepage using your Browser App and choose your preferred product. We’ll use the Essential Framed Print in our example below:

Step 2: Customize Your Frame
At this stage, you need to customize your frame. To do so, pick a Mat Border or Edge-to-Edge Print for your frame. As shown in the screenshot below, we selected the Mat Border option:

Next, select your print size from the available options, as shown above, which include Landscape, Portrait, and Square. Each of these options comes in different sizes. For example, the Landscape print size option comes in frames from 7 x 5 inches to 36 x 24 inches, while the Portrait option has frames from 5 x 7 inches to 24 x 36 inches. In the screenshot above, we choose the 7 x 5-inch print size for Landscape.
Under print size, you will see the Finish section, which enables you to select your frame’s finish. There are four finishing options available, including Oak, Maple, Walnut, Black, and White. To select an option, simply tap on it.

Step 3: Image Upload
To upload and customize your image, tap on the black Customize Your Image button right below the Finish section.

This will open up a new page where you need to tap on the “Tap here to add your image” text, which will launch your mobile phone’s photo app.

Select the image and tap Done.
Step 4: Image Customization
The selected image will open in The Meticulous Puffin’s photo editor, which allows you to crop, rotate, scale, and fine-tune your picture right on your phone. It also allows you to adjust settings like the contrast, saturation, exposure, and brightness of the image.

After the image optimization process, click on the black checkmark button located at the upper right corner of the editor.
Step 5: Add to Cart
Lastly and most importantly, beneath the edit and remove button, you’ll see a box tagged ‘Print Quality’. It should say “Excellent” or “Good” if the resolution is sufficient for quality print.

If the Print Quality states anything other than Good” or Excellent,” it is best that you replace the image with another of a higher resolution or select a smaller frame.
After this, tap on the black Add to Cart button.

A Processing Image popup will be displayed on your phone screen.

Wait until it is through, then tap Secure Checkout to finalize the order.

Congratulations! You have successfully ordered your framed digital photo using your mobile device and it’ll arrive at your doorstep shortly.

Leave a comment